Engine Hood Assembly Airtightness Testing Solution
1. Product Overview
The engine hood assembly is not only a part of the car’s exterior structure but also plays important roles in sealing, dustproofing, waterproofing, heat insulation, and soundproofing. Poor sealing during manufacturing can cause the following issues:
| Issue | Detailed Description |
|---|---|
| Moisture Ingress | Rainwater, mud, and car wash water can enter the engine compartment through poorly sealed areas, causing moisture damage, corrosion, and short circuits to electronic components. |
| Engine Performance Damage | If the intake system sucks in water or dust, it seriously affects engine life and efficiency. |
| Declined User Satisfaction | Sealing defects may also cause increased wind noise, heat leakage, and unpleasant odors inside the cabin, affecting user experience. |
| Impact on Vehicle NVH Performance and Protection Level | Especially for high-end models, the sealing integrity of the engine hood directly affects vehicle certification levels (e.g., IP rating, NVH, thermal simulation verification). |
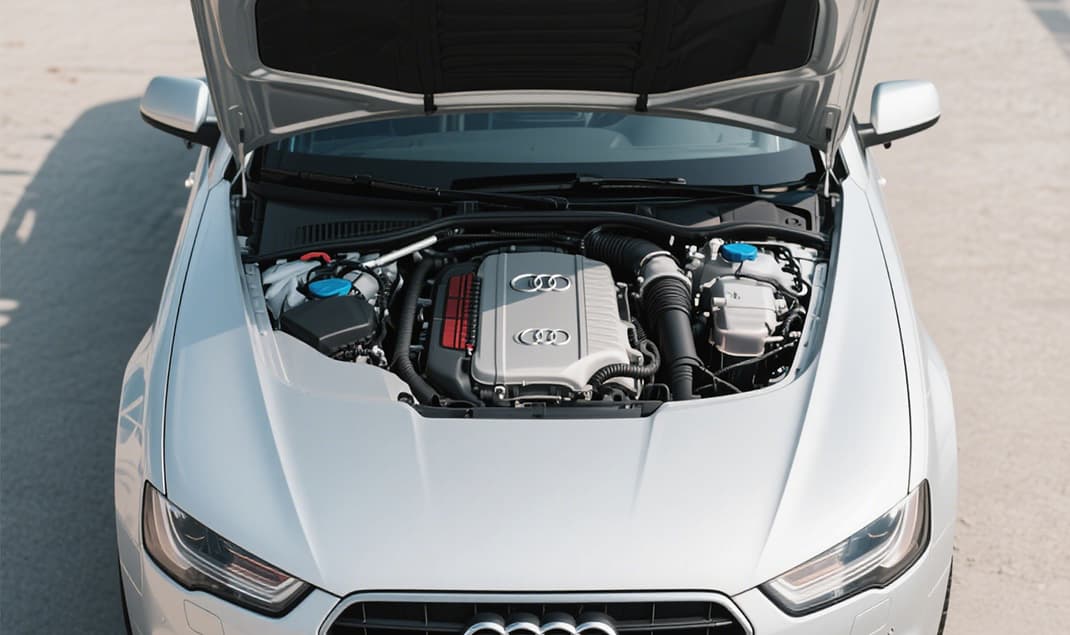 Figure 1: Engine Hood Assembly Diagram
Case Study
In 2022, a joint venture automaker discovered frequent engine compartment water ingress issues in a batch of mid-size SUVs. After-sales feedback showed that the sealing strip on the engine hood edge was not fully adhered, allowing rainwater to seep into the ECU area through gaps, causing extensive wiring harness corrosion and start-up failures. Subsequently, the plant implemented a full airtightness testing line, performing 100% sealing tests on engine hood assemblies before shipment, effectively controlling product quality and significantly reducing after-sales claims.
2. Testing Methods
Since the engine hood assembly is a large structural part, testing mainly focuses on the sealing ring and surrounding gasket sealing. The following methods can be applied:
Testing Methods Comparison
| Method No. | Method Name | Detailed Description |
|---|---|---|
| 1 | Differential Pressure Method (Pressure Drop) |
The engine hood is assembled with a simulated front vehicle body to form a sealed space; After inflating, pressure changes are detected, suitable for batch factory testing. |
| 2 | Flow Method (Mass Flow) |
Precisely detects gas leakage flow from sealing rings and strips, often used in spot checks or process validation stages. |
| 3 | Smoke Visualization / Bubble Method |
Used in sealing process development; Uses visible smoke or water immersion to assist in locating leaks, suitable for analyzing structural defects in prototypes; Not suitable for mass production testing. |
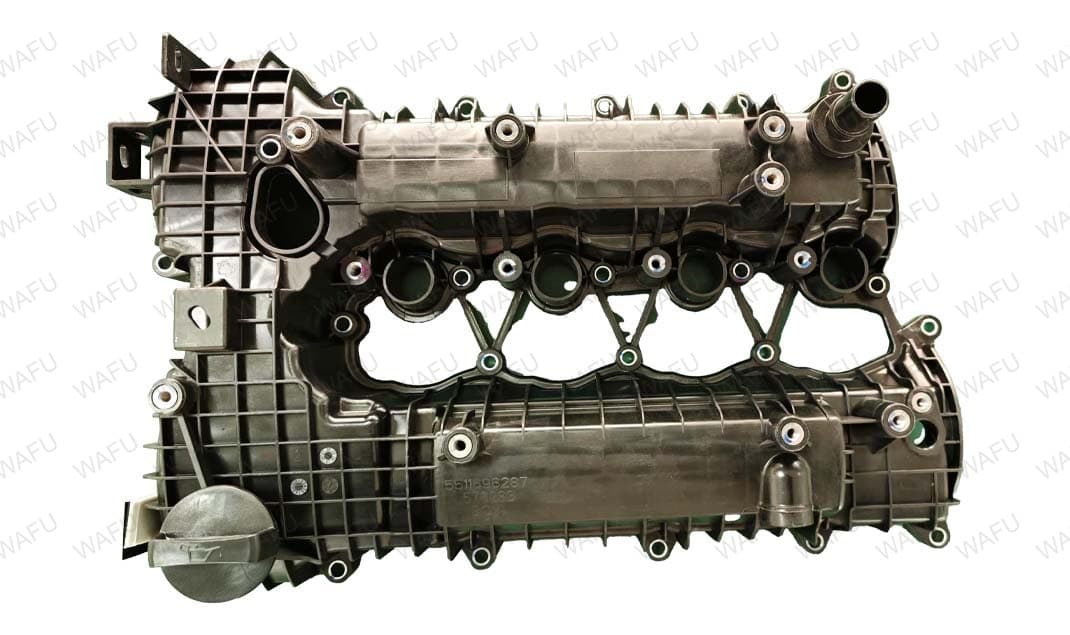 Figure 2: Engine Hood Airtightness Testing Equipment
3. Testing Steps (Example: Differential Pressure Method)
| Step No. | Detailed Steps |
|---|---|
| 1 | Fixture positioning: Install the engine hood into a dedicated testing fixture, simulating its assembly with the front body or heat shield. |
| 2 | Seal construction: The fixture forms a sealed space, gasket is compressed, preparing for airtightness testing. |
| 3 | Inflation and pressurization: Inject compressed air or nitrogen into the test chamber, usually at 2~10 kPa. |
| 4 | Pressure stabilization: Maintain pressure for several seconds (e.g., 3~5 seconds) to prevent fluctuations affecting readings. |
| 5 | Pressure drop or flow detection: The system monitors pressure changes or gas leakage rate in the chamber. |
| 6 | Result determination: Compare to set standards (e.g., ≤0.3 kPa/min or ≤3 sccm), automatically judge OK/NG. |
| 7 | Data storage and traceability: Automatically upload test results to the database, supporting MES integration. |
4. Conclusion
Airtightness testing of the engine hood assembly is a crucial step for enhancing vehicle protection levels, heat and sound insulation performance, and user experience. It is also a key process to ensure the “functional reliability” of automotive exterior structural parts.