 WAFU
WAFU
How to Test for a Vacuum Leak with a Leak Tester ? Principles and Applications of Negative Pressure Testing
When it comes to a leak tester, many people first think of filling the product with compressed air and determining whether it leaks by monitoring changes in pressure. In fact, in addition to conventional positive pressure testing, a leak tester can also use a negative pressure vacuum method for vacuum leak testing.
For products that are not suitable for positive pressure testing or that operate under negative pressure in actual applications, vacuum testing can provide a test condition that more closely matches the actual working environment. If you are wondering how to test for a vacuum leak, the negative pressure method is one of the commonly used approaches.
1. What Is Negative Pressure Vacuum Leak Testing?
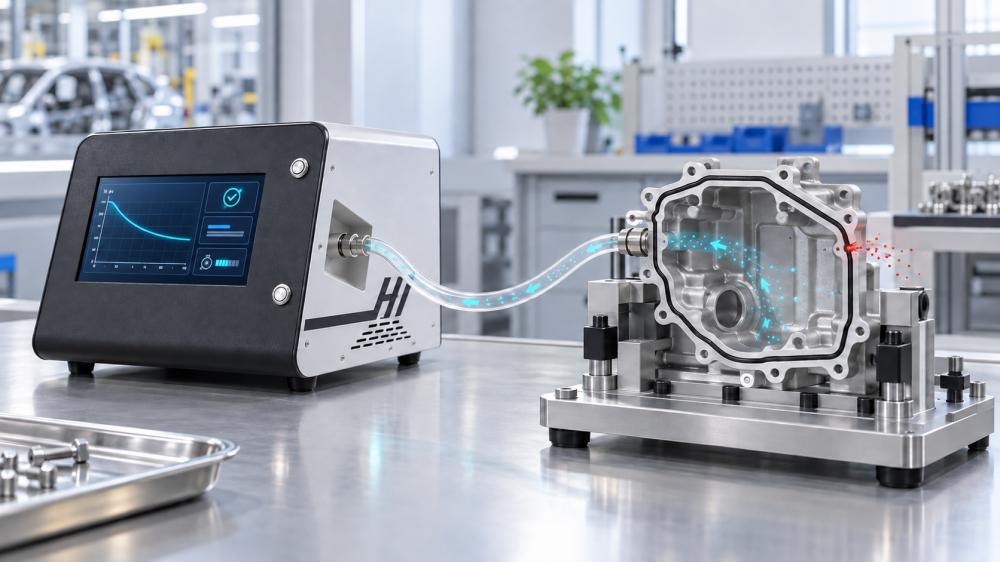
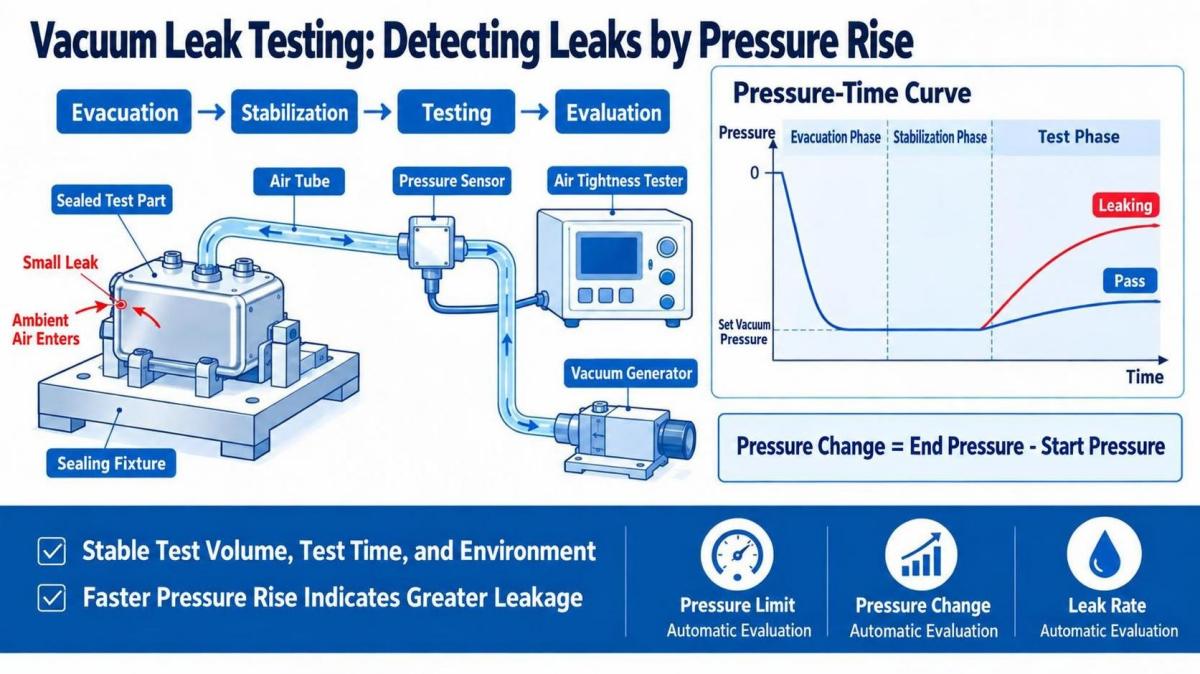
Negative pressure vacuum leak testing is a method in which a leak tester uses a vacuum generator or vacuum pump to remove air from the inside of the product or from a sealed test chamber until the preset negative pressure is reached. The test circuit is then isolated, and the pressure is monitored for a specified period. The tester determines whether a leak is present based on the change in pressure.
If the product is properly sealed, the vacuum level in the test circuit should remain relatively stable during the test phase. If a leak is present, outside air enters the product through the leak point, causing the negative pressure to gradually decrease and the pressure value to rise. When the pressure change exceeds the preset limit, the leak tester determines that the product has failed the test.
2. How Does a Leak Tester Perform Vacuum Leak Testing?
The basic principle of vacuum leak testing is to determine leakage by monitoring pressure changes inside a sealed space. At the beginning of the test, the leak tester first evacuates the product to the preset negative pressure. The system then enters the stabilization and test stages, during which the pressure change inside the product is measured.
The pressure change can generally be calculated using the following formula: Pressure Change = End-of-Test Pressure − Start-of-Test Pressure.
When the test volume, test time, and environmental conditions remain relatively stable, a faster pressure recovery indicates a higher degree of leakage. A leak tester can automatically determine whether the product passes or fails according to preset pressure limits, pressure change limits, or leak rate criteria.
Some high-precision leak testers can also combine the product test volume, test time, and pressure change with calculation algorithms to convert the measured data into a corresponding leak rate, making the test results easier to understand and evaluate.
3. Which Products Are Suitable for Negative Pressure Testing?
Negative pressure vacuum leak testing is suitable for a wide range of products where sealing performance is important. For example, vacuum cleaner components operate under suction conditions, so negative pressure testing can better reproduce their actual working environment. Some products have stringent sealing requirements and may require both positive and negative pressure testing, such as automotive engine components. In this application, both positive pressure and negative pressure testing are used to evaluate the sealing performance of the engine components.
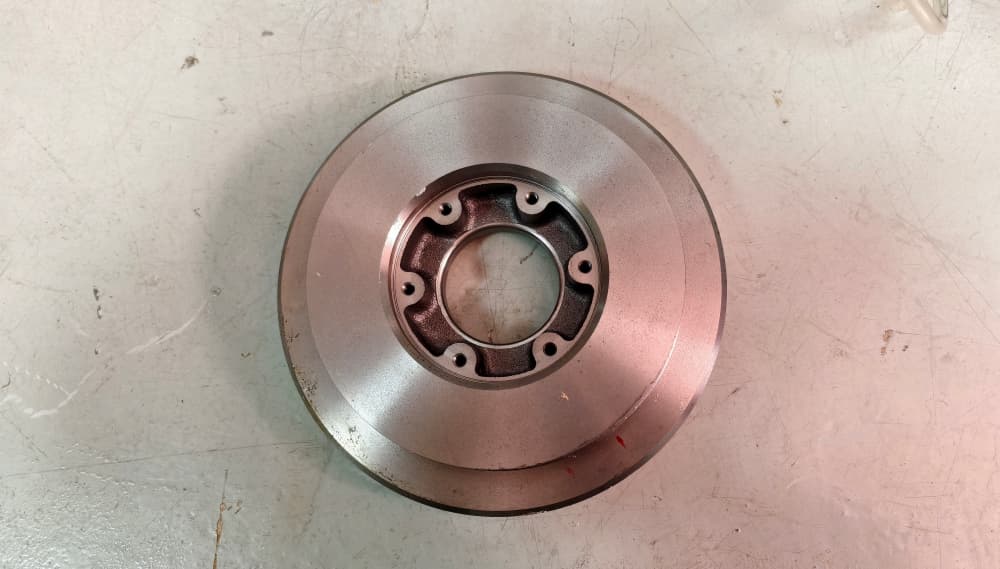 Figure 3: Engine component requiring both positive and negative pressure leak testing
For thin-walled components, easily deformable products, or workpieces that cannot withstand high positive pressure, negative pressure testing can reduce the risk of product expansion, deformation, or damage during the leak test.
4. What Should Be Considered When Performing Vacuum Leak Testing?
Vacuum leak testing does not necessarily become better with a higher vacuum level or a longer test time. Test parameters should be determined according to the product structure, internal volume, material characteristics, allowable leak rate, and production cycle time.
For soft or easily deformable products, deformation during evacuation may cause pressure changes and affect the test results. In such applications, the supporting and positioning structure of the test fixture may need to be optimized. Appropriate vacuum pressure and stabilization time should also be determined through sample testing and validation.
5. How Should Positive and Negative Pressure Leak Testing Be Selected?
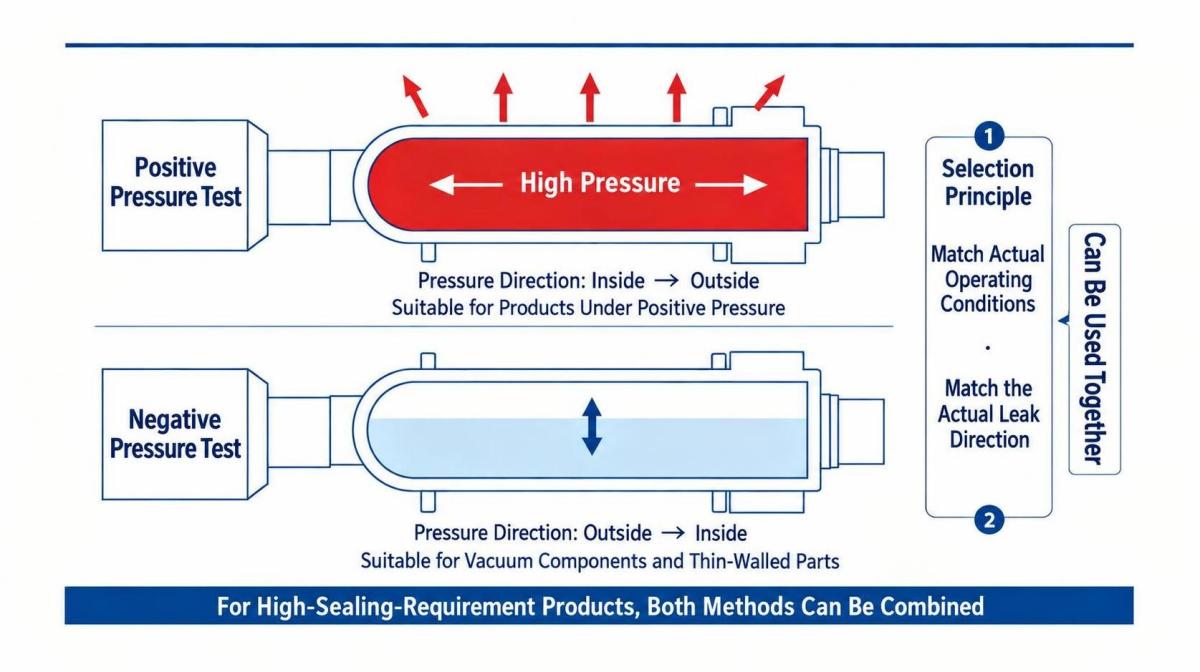
Positive pressure testing applies pressure from inside the product toward the outside and is suitable for products that normally operate under internal pressure. Negative pressure testing, on the other hand, evacuates the product to create a vacuum and primarily monitors whether outside air enters through a leak. It is more suitable for vacuum-operated components, thin-walled parts, and products that are not designed to withstand positive pressure.
Neither method is universally better, and they are not necessarily mutually exclusive. Both positive and negative pressure testing can be used when required. The key is to select a testing method that closely matches the actual direction of leakage and the product's operating conditions. For products with complex structures or demanding sealing requirements, a suitable test method can be established by comparing good samples, known leaking samples, and calibrated standard leaks.
6. Conclusion
A leak tester can perform not only positive pressure leak testing but also vacuum leak testing by using a negative pressure evacuation method. The basic principle is to establish a stable vacuum environment and monitor pressure recovery or changes in the leak rate over a specified period.
In practical applications, test parameters and sealing fixtures should be designed according to the product structure, test volume, allowable leak rate, and production cycle time. Only when the testing method, instrument range, and fixture design are properly matched can stable, reliable, and repeatable leak test results be achieved.